Get started with Damus
A step-by-step guide to getting started with Nostr with the Damus iOS client.
Step 1 - Get Damus
This is a specific guide to get started using Nostr with Damus, a beautiful, easy-to-use iOS client built by @jb55.
- Install the Damus app on the iOS App Store.
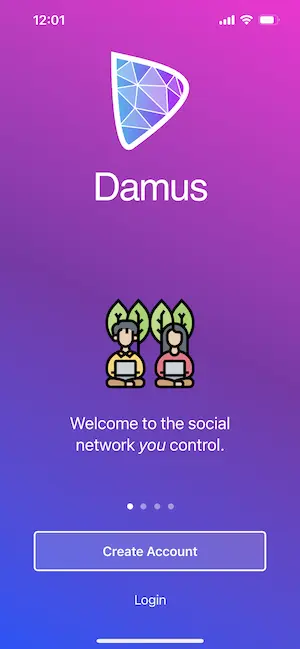
- When you open the app you’ll have the option to create a new account or to log in with a private key you’ve already generated.
- If you have already created a private key via the Alby extension or another client, you can click “Login”. Otherwise, click “Create Account”.

Step 2 - Creating a new account
- Click “Create Account”.
- Read through and accept the EULA.
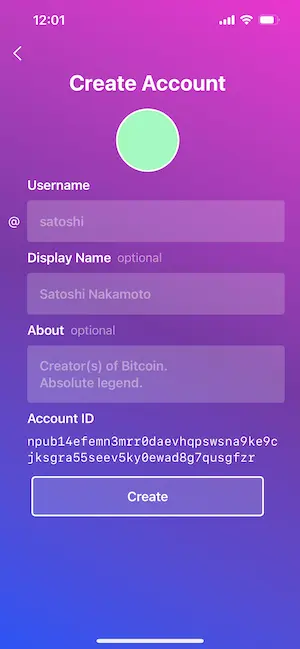
- You’ll then pick a username (this can be changed later) and, optionally, add some other profile details. Damus auto generates keys for you at this step. Your public key is shown as the “Account ID” value.

- Once you’ve finished, click “Create” and you’re ready to use Nostr! 🤙
- Just one last extremely important step. You need save your private key somewhere safe.
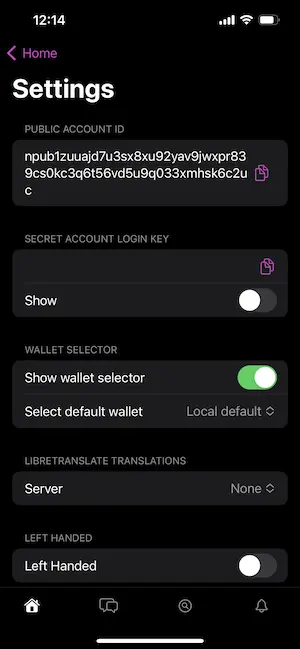
- Navigate to Settings by clicking your profile image at the top left of the screen, then click “Settings” in the menu.

- You’ll see your “Public Account ID” (this is your public key) and your “Secret Account Login Key” (this is your private key).
- Copy both of these values and store them somewhere VERY safe. 1Password or another password manager is a good option. Remember, if you don’t save this value, you’ll never be able to recover your account. You can find more info on keys here.
Logging in with an existing key
- Click “Login”.
- Read through and accept the EULA.
- You’ll then be asked for your private key. Enter your key and you’re done. 🤙 Important: Your private key is stored locally and isn’t collected or stored by Damus servers in any way.